
Progress on the R18 engine bay and starting the underbody
A few more words on my Audi R18 TDI. The last days, I worked on the engine bay, which is now almost finished. Before I can start with the suspension, I’ve to fit the underbody and before that, I have to manufacture the underbody.
First, to the engine bay. The two big air pipes, which lead the “used” air from the cockpit to the engine area were a bit tricky to build. Not really difficult, but a bit different from my usual building strategy. First, I made the two molds which only consists out of the two longitudinal frames. The shape of this frames is the projected area viewed from the side and viewed from above. Then I took many small paper pieces (about 15mm x 50mm) and placed them round the frames. Just like wet lamination of carbon fibres. Then they were covered with aluminium foil.
The function of these two air pipes is still a bit of unknown territory for me. At the top, a bit air is tapped to cool the VTG control-box (VTG = Variable Turbine Geometry) of the turbo charger. At the rear end, two lines seem to lead into the gearbox housing. Maybe for gearbox oil cooling? And two other lines lead into some at the gearbox housing attached boxes. One of them should be a hydraulic cooler. So, you see, there’s a bit of research in front of me left.

The two frames for the cooling pipes.
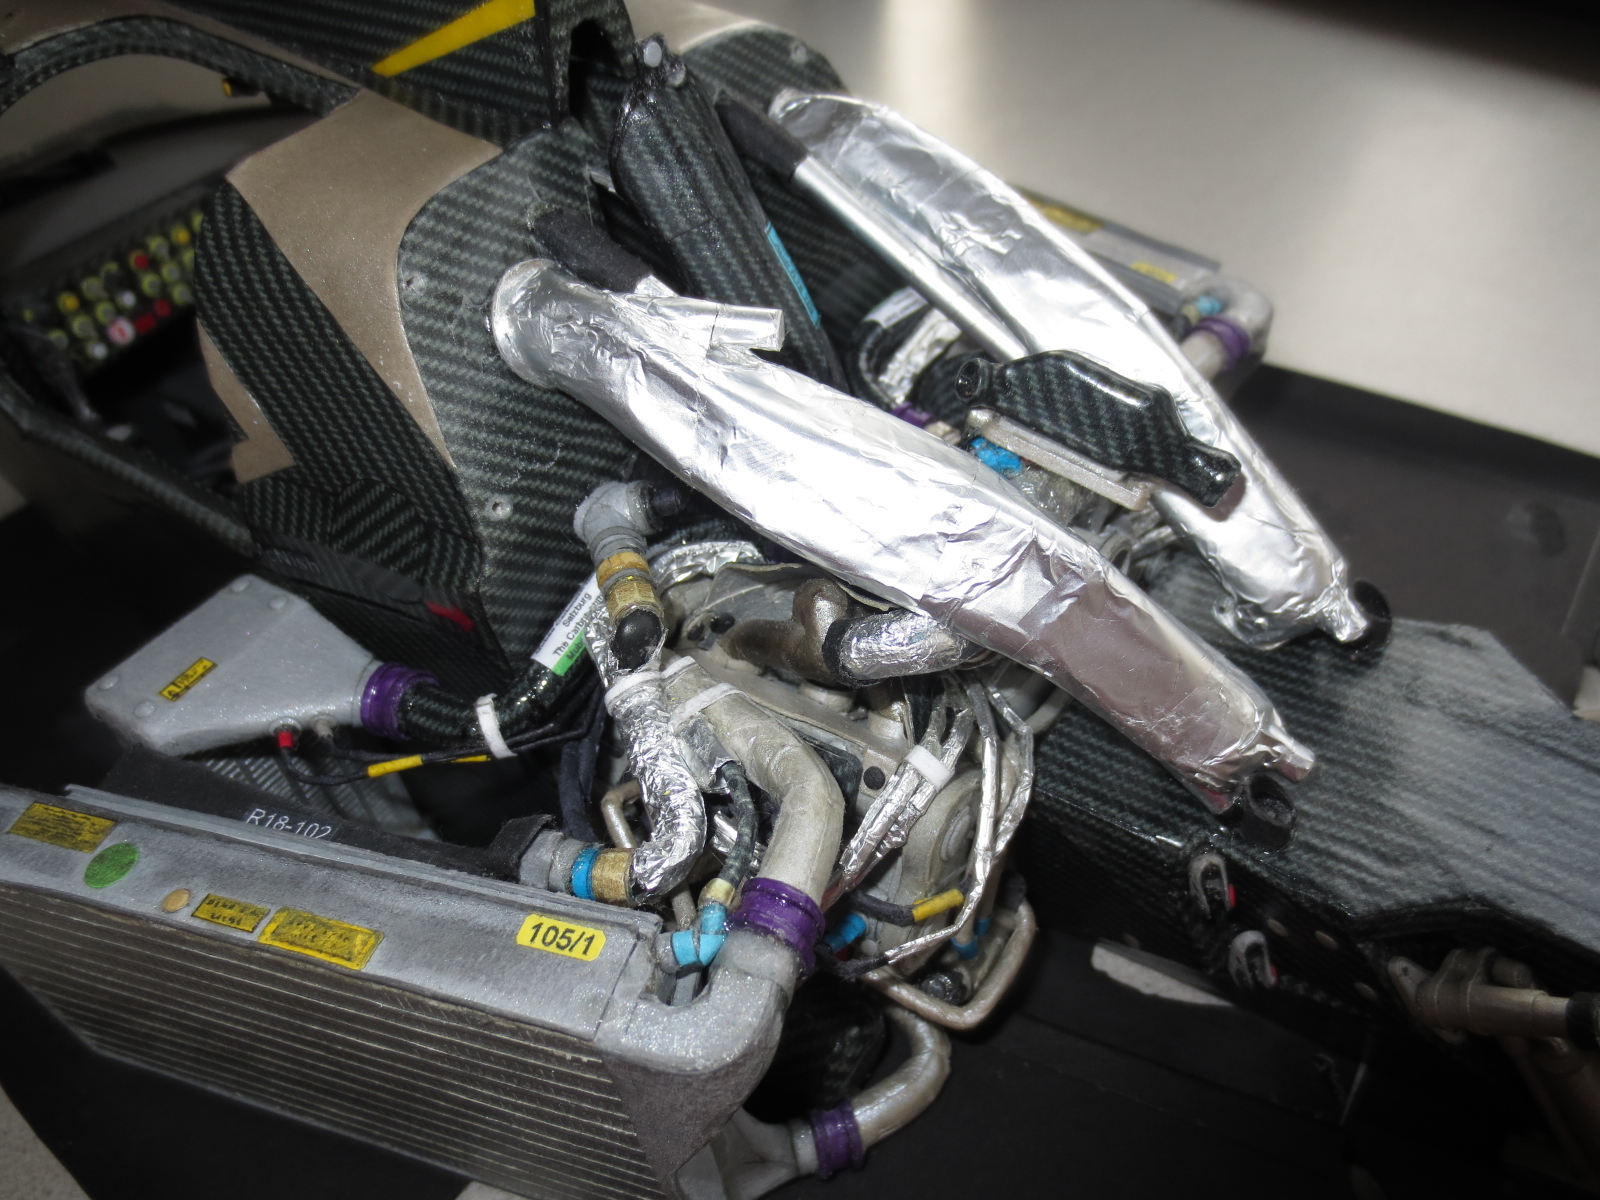
At the left pipe, you can see the tap, which leads air to the VTG control-box. At the rear end of the pipes, you can see the quite big tubes which leads into the gearbox housing, the two small taps lead into the boxes.
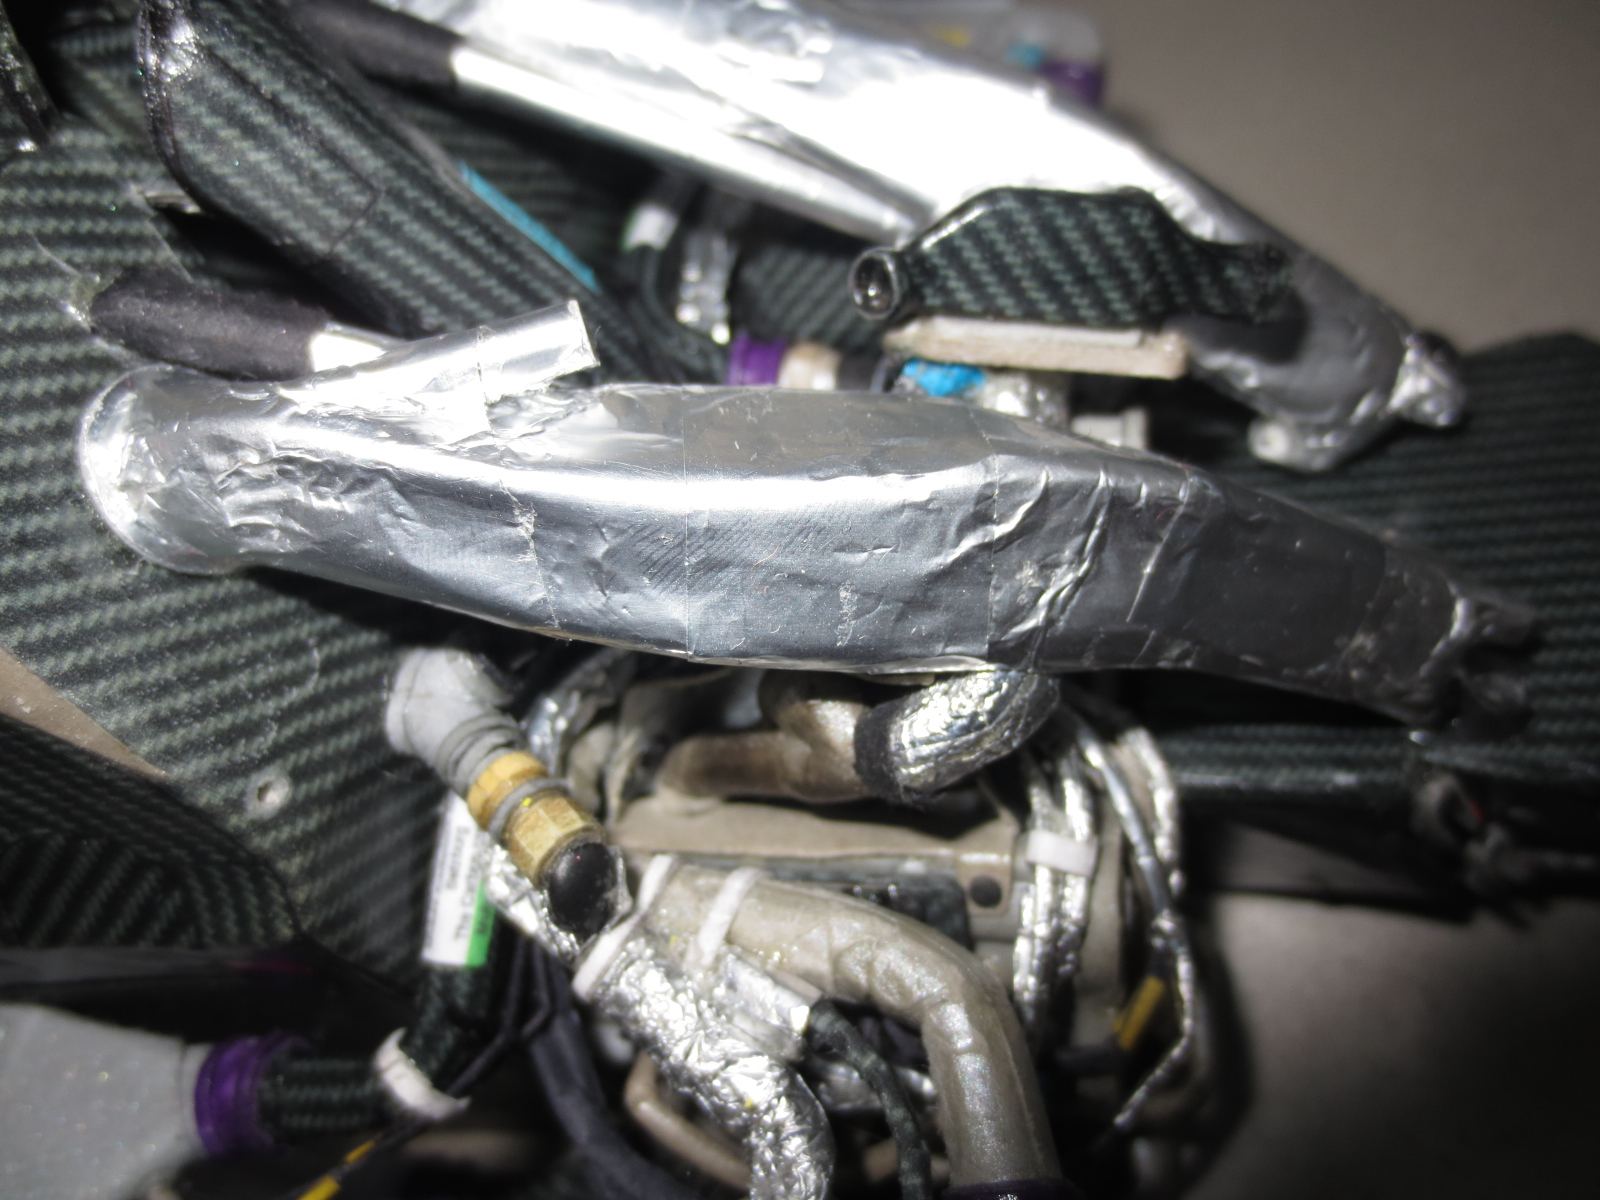
The aluminium foil acts as heat shields, because the pipes run very near beside the exhaust system.
Now to the underbody: The underbody itself is separated into three parts. First for easier refit in case of a damage and secondly because the underbody is quite big. The regulations are very strict in this area, so you have no big space to variate your diffuser/underbody.
A few months ago, I built a “regulation underbody” for regulation tests to see how my chassis fit to the regulations. Due to a little error of me (as I wrote in the former post – the 7° mess) I additionally drew a “regulation underbody” in CAD to visualize it. Then I made a template to visualize the shape of the R18 underbody which differs a little bit from the “regulation underbody”. The first layer (0.3mm paperboard) is already finished. Due to the high loads (downforce) of the underbody, I guess the thickness of the underbody should be around 10mm, so 1mm in my case (1:10 scale). So I will build the underbody with three layers of 0.3mm paperboard. One very helpful source was this video on YouTube: Audi R15 plus – Assembling (jump to min 3:34)
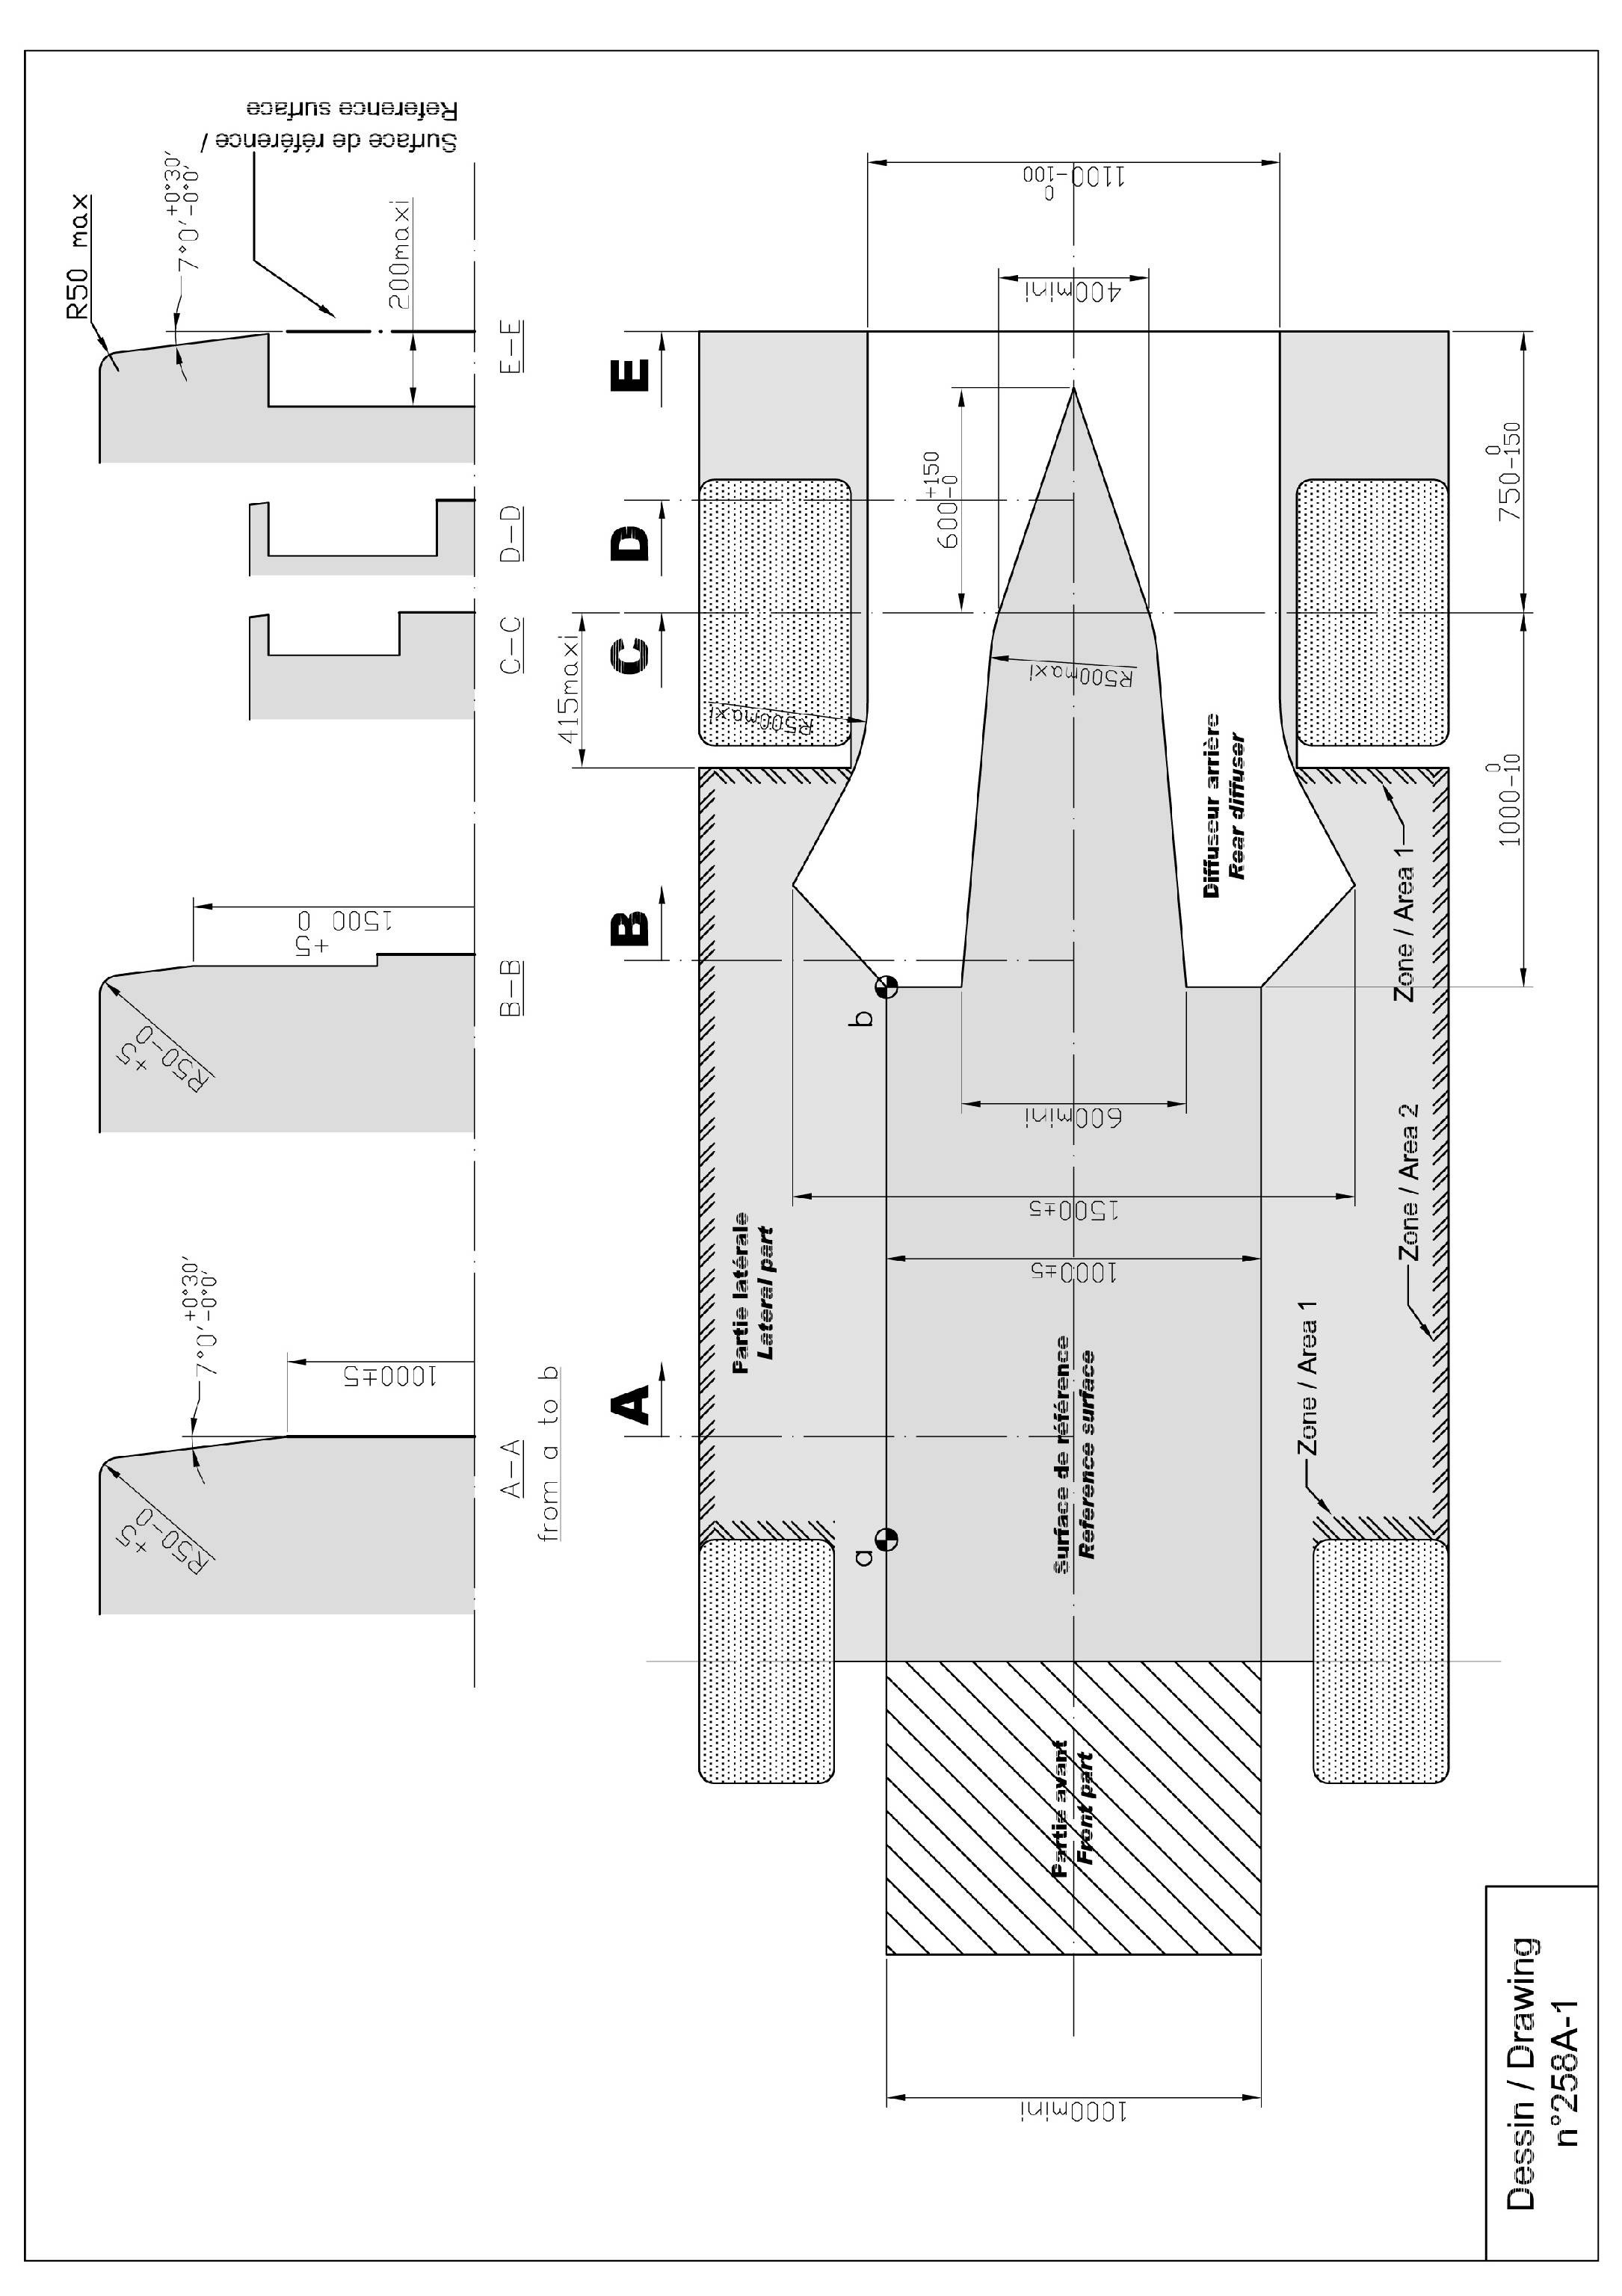
Page 45 of the ACO 2011 LMP1 technical regulations. Source: ACO Technical Regulations 2011 “LE MANS” PROTOTYPE (“LM”P1-“LM”P2) Technical Regulations for Prototype (2011)
My “regulation underbody”.
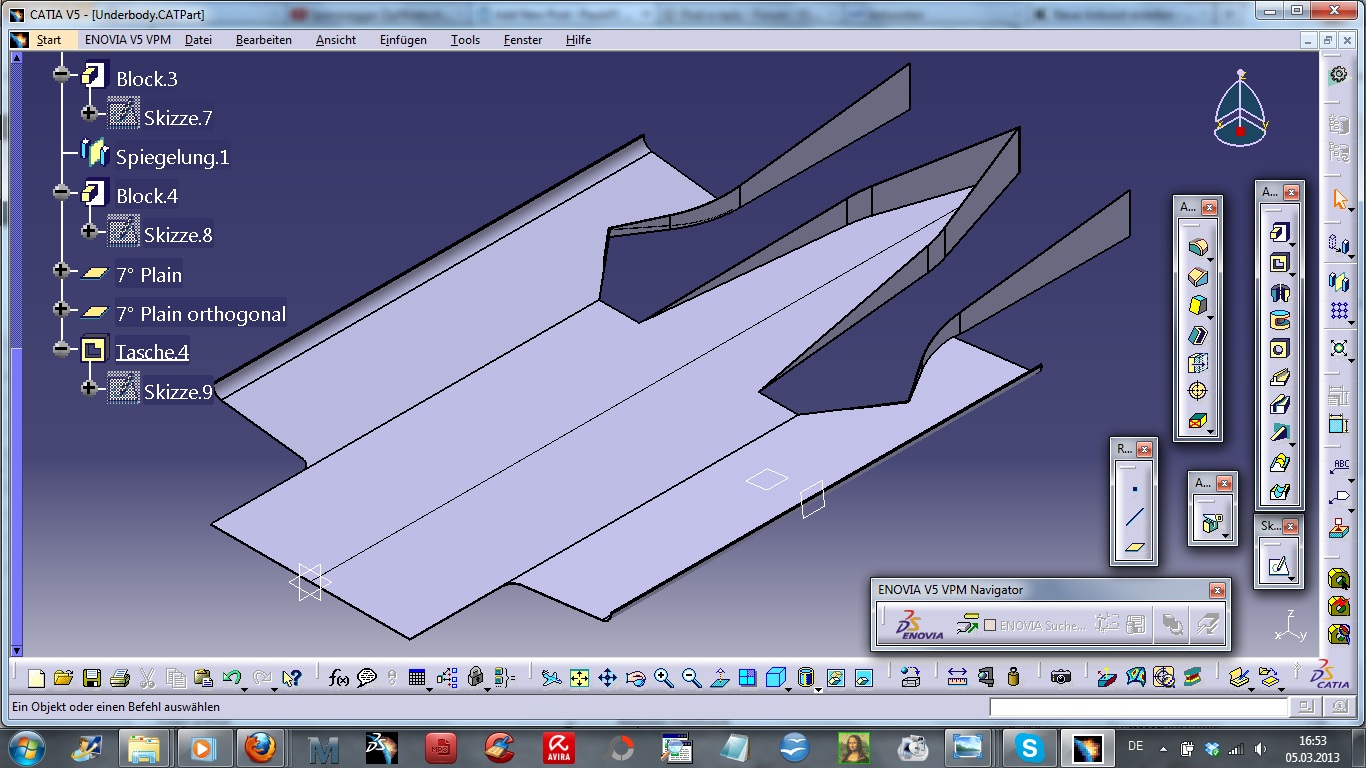
My CAD regulation underbody.
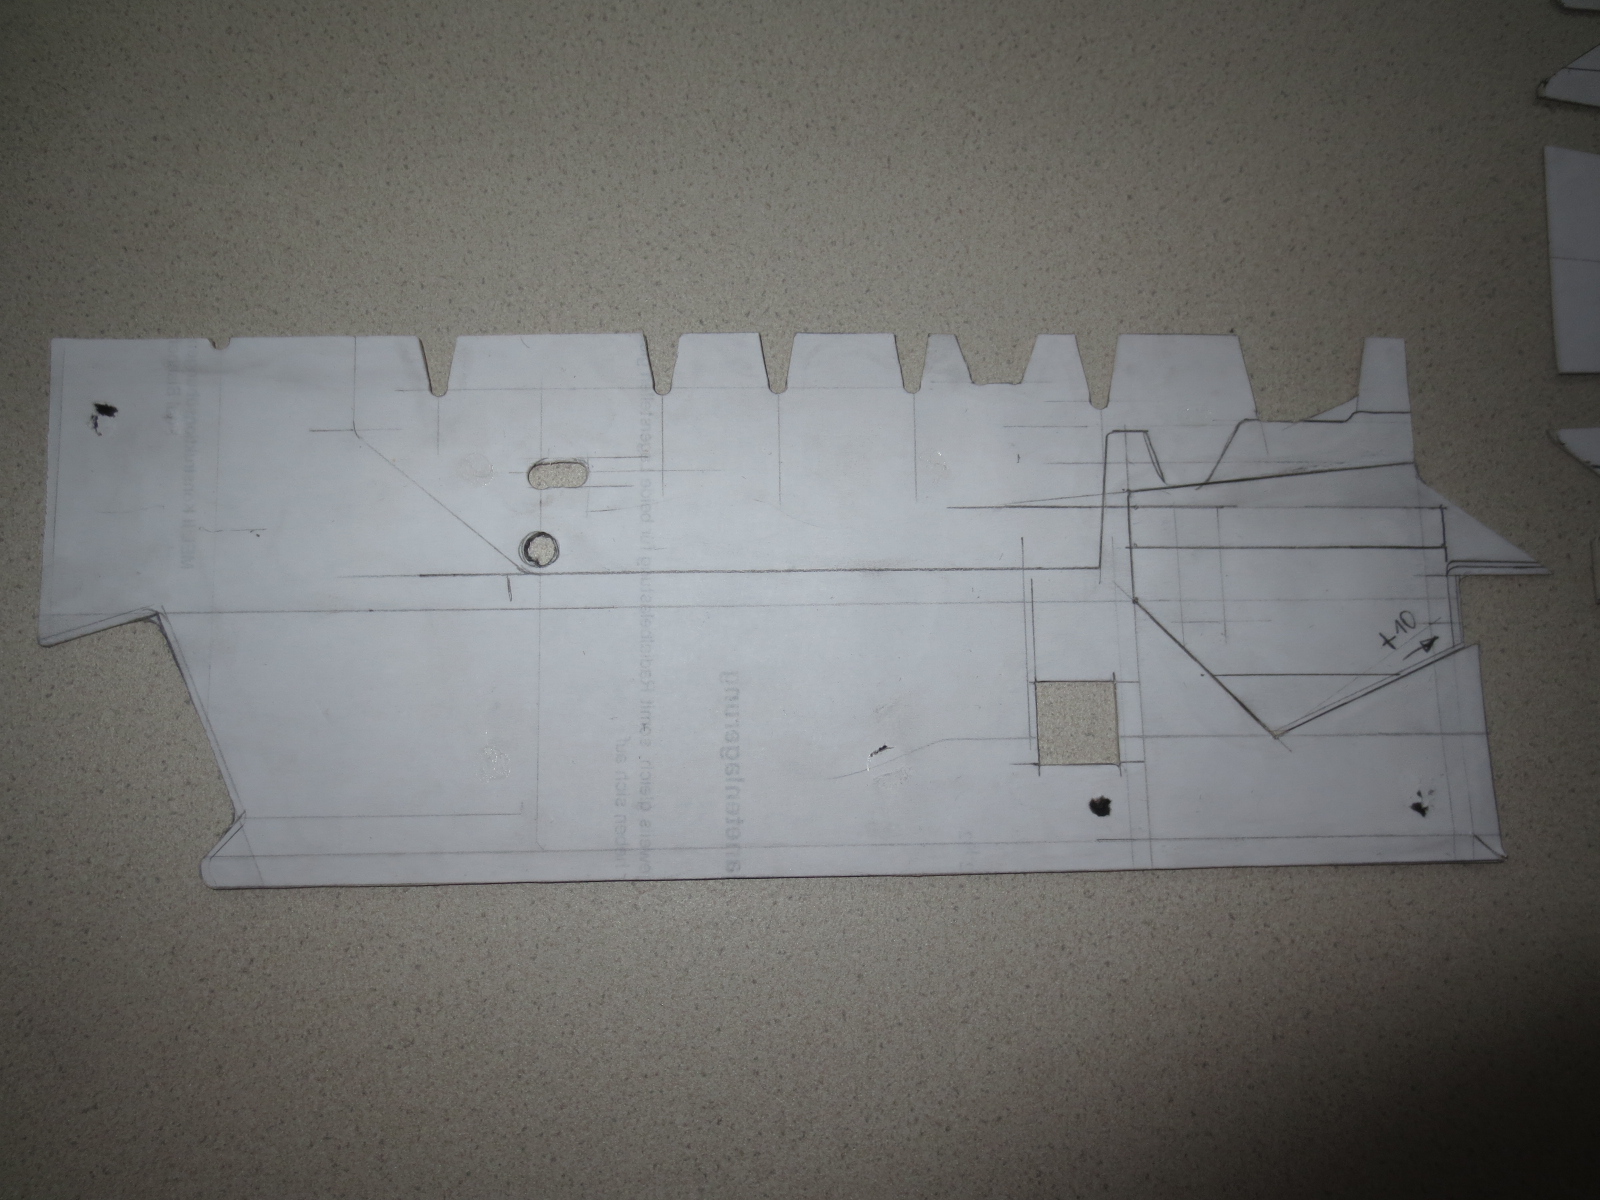
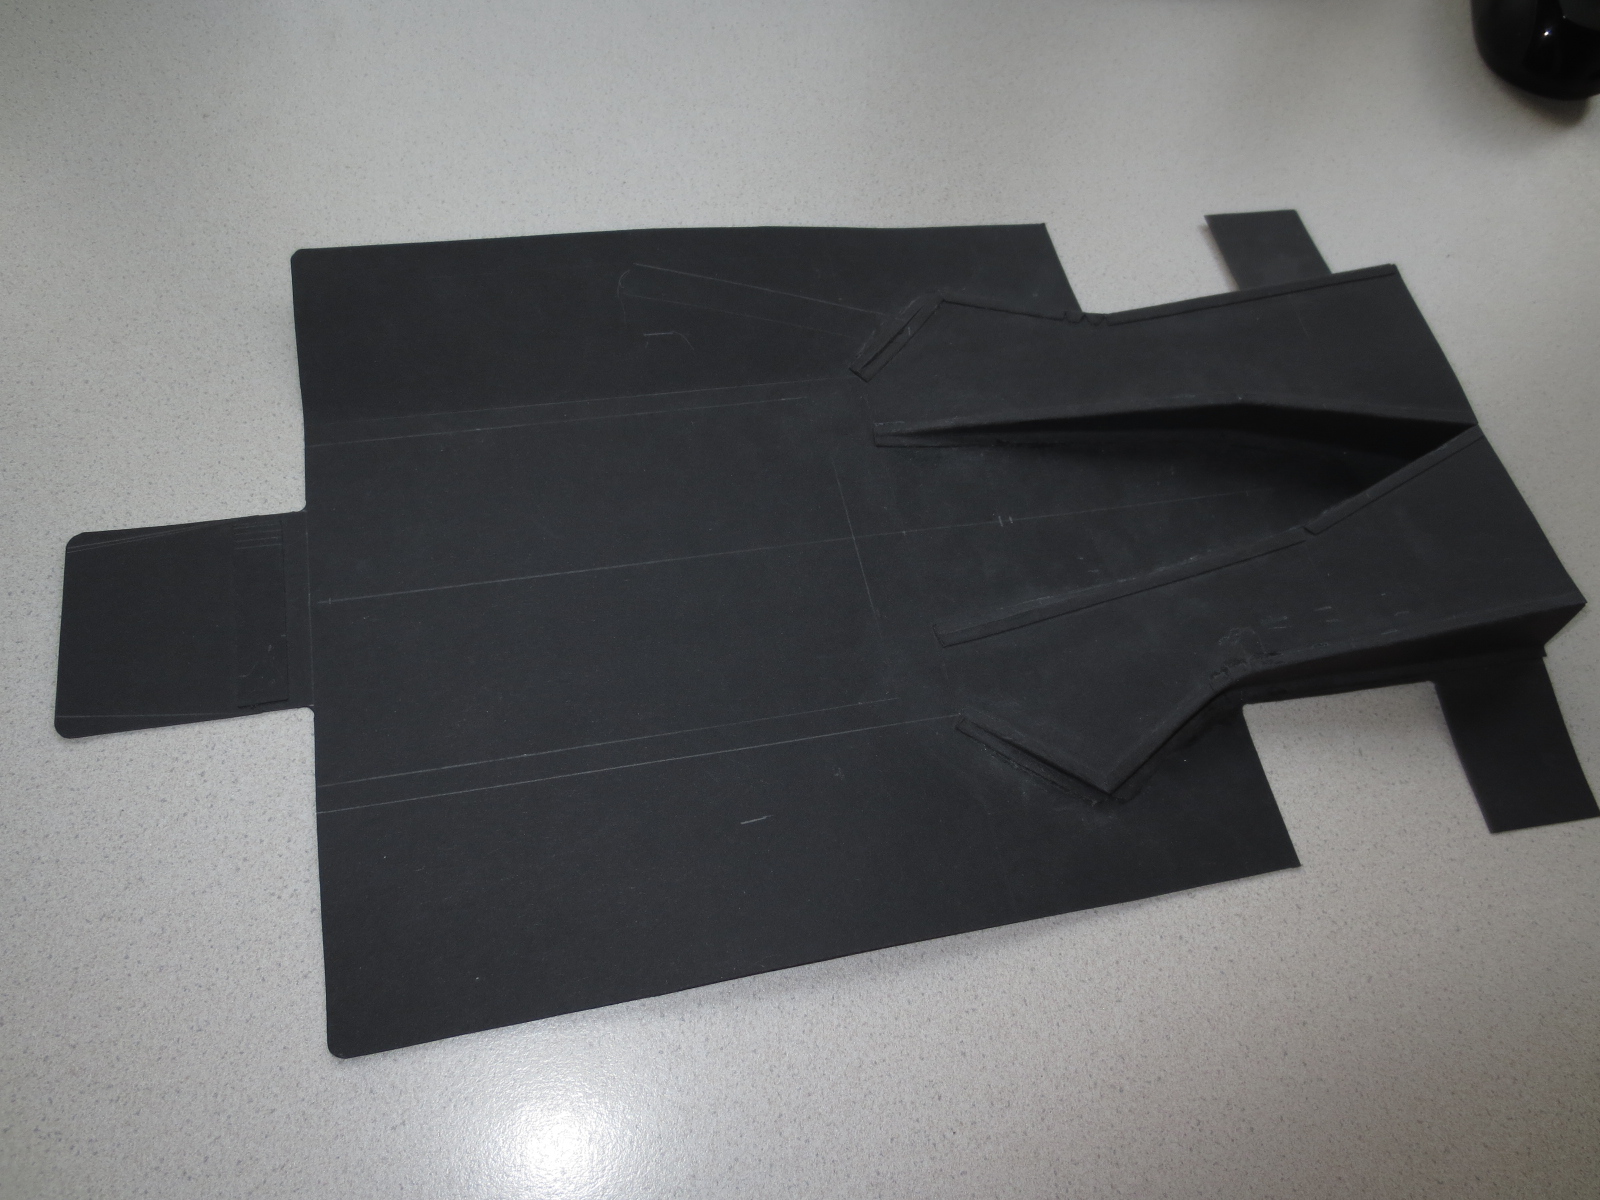
Template of the left main section of the underbody. The few cutouts at the inner edge are there for the skid block bolts.
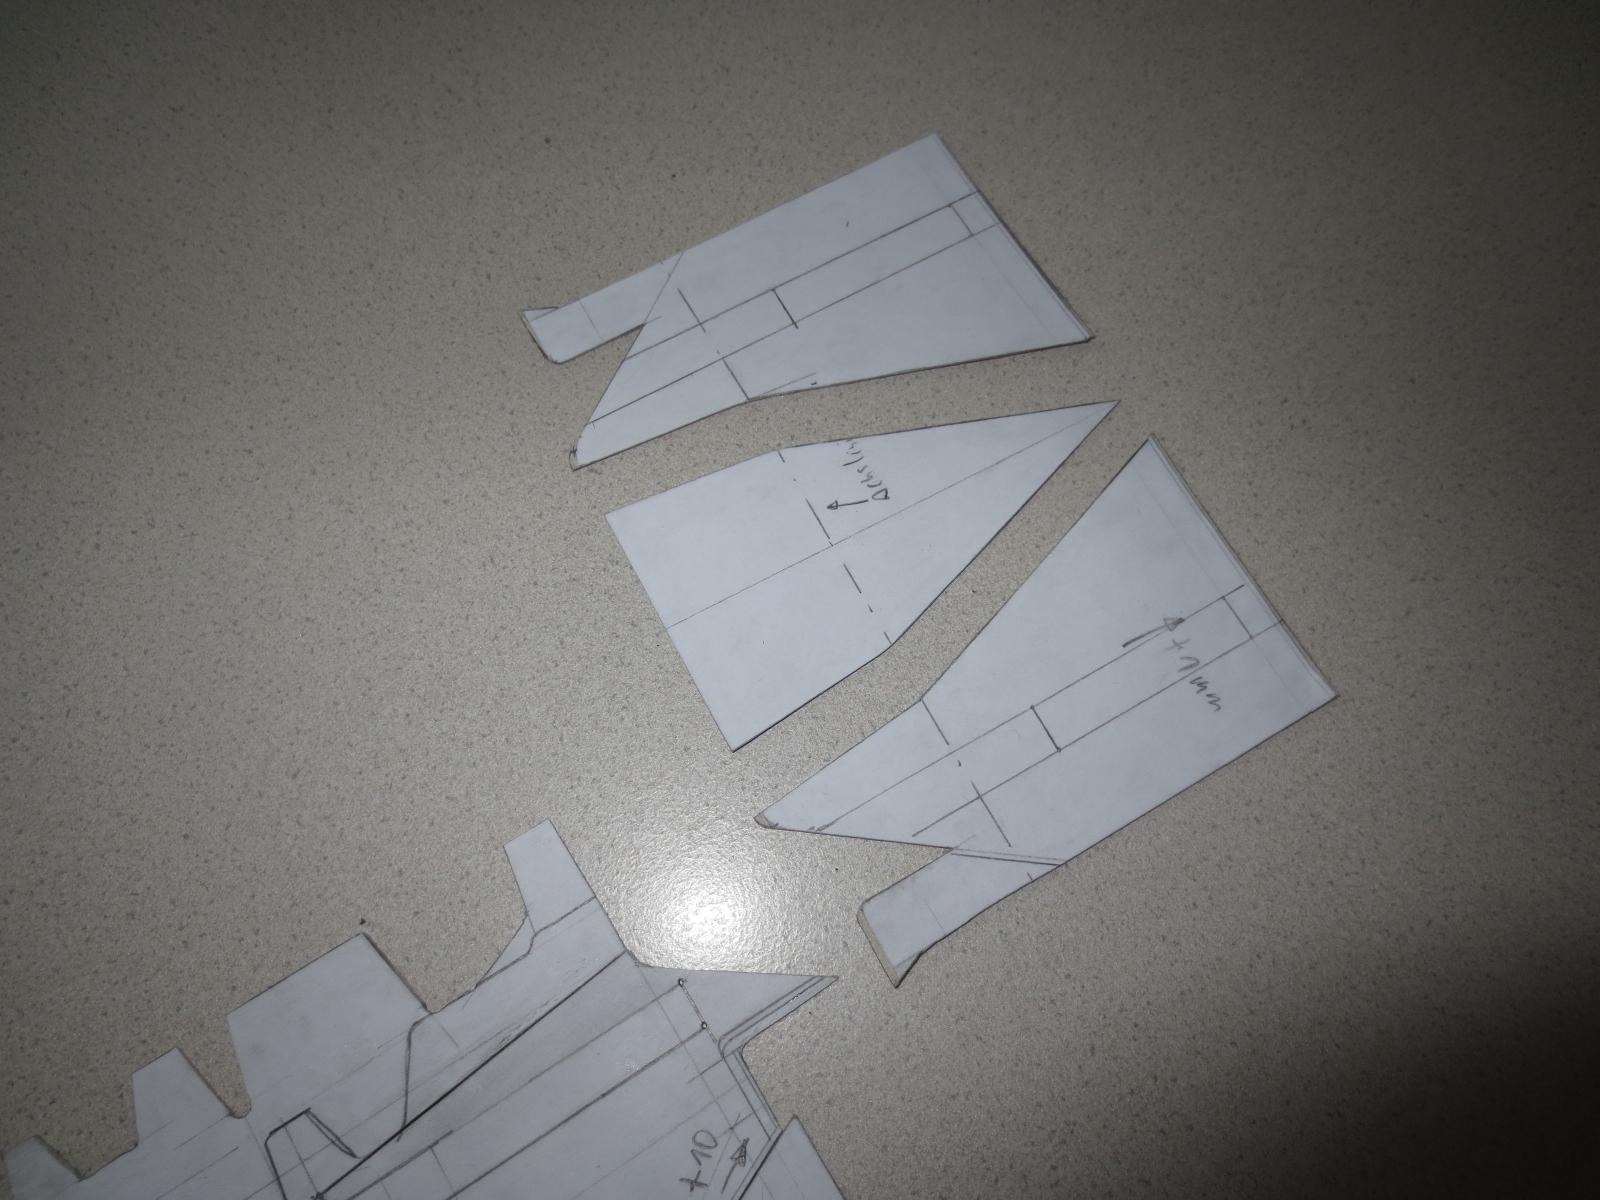
The rear part template of the underbody (Diffuser).
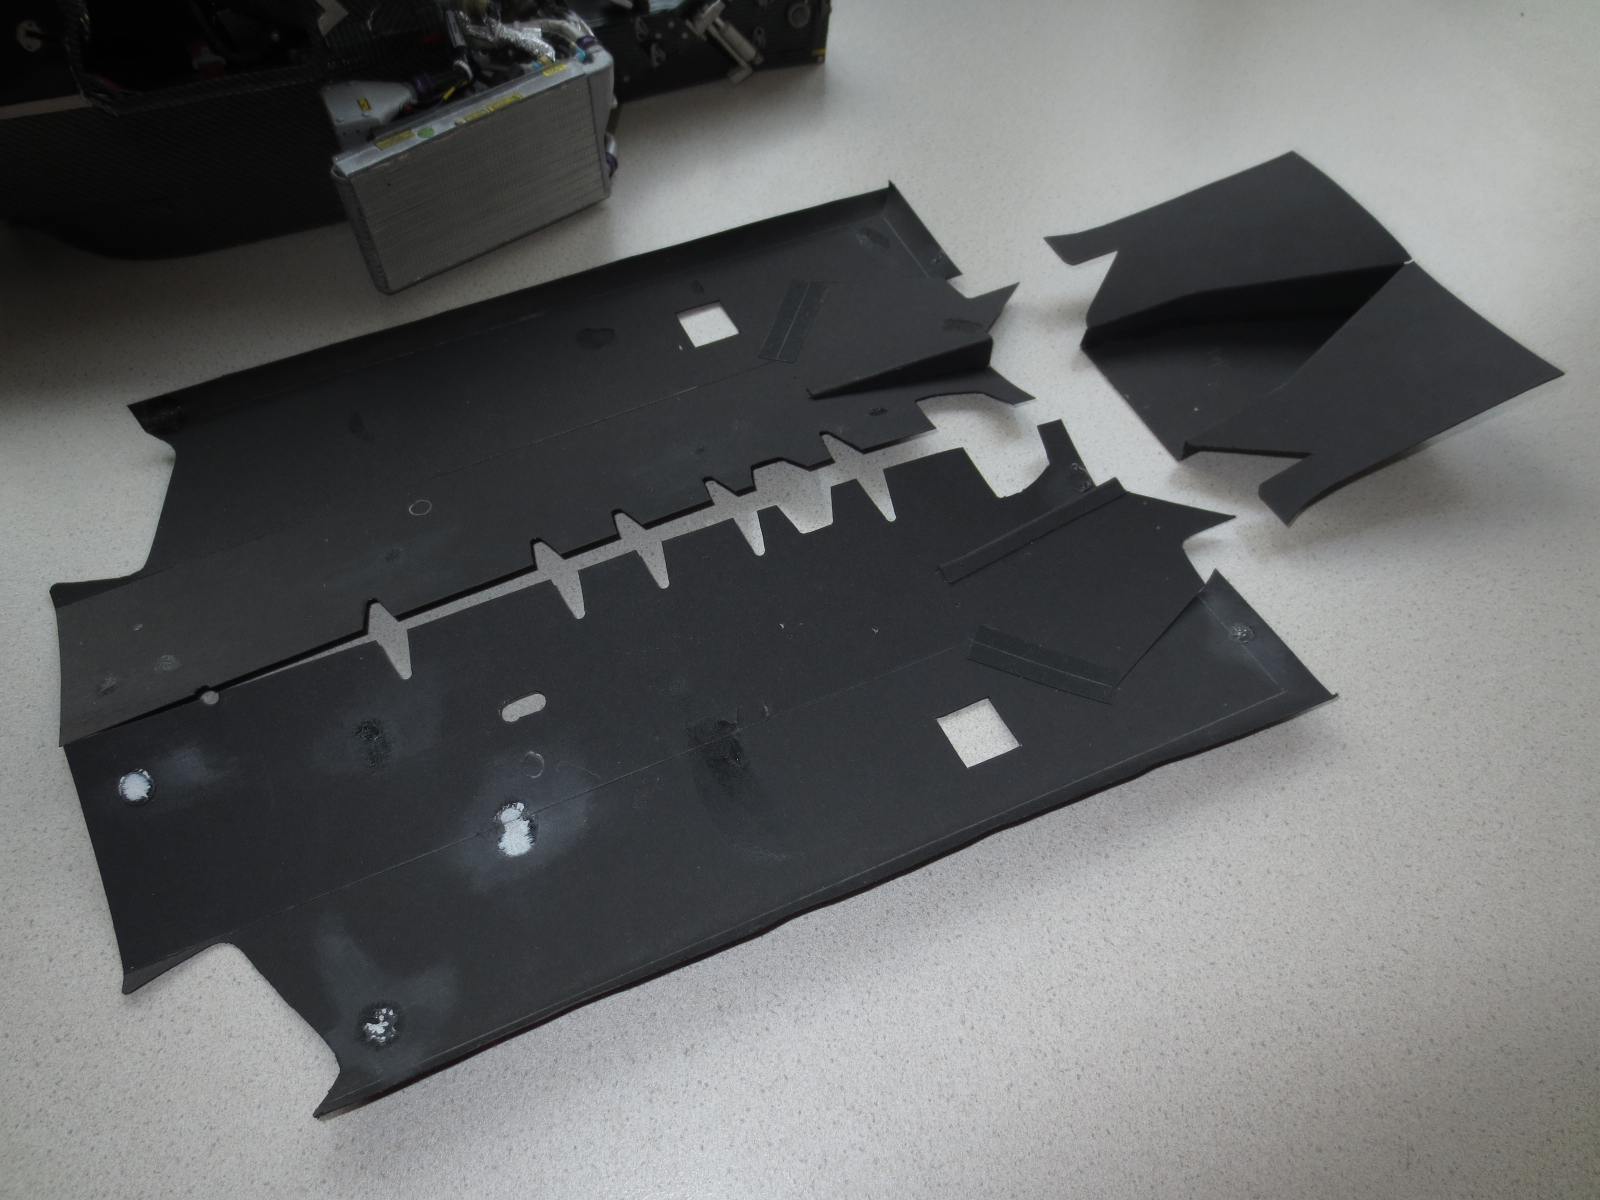
First layer of the underbody.
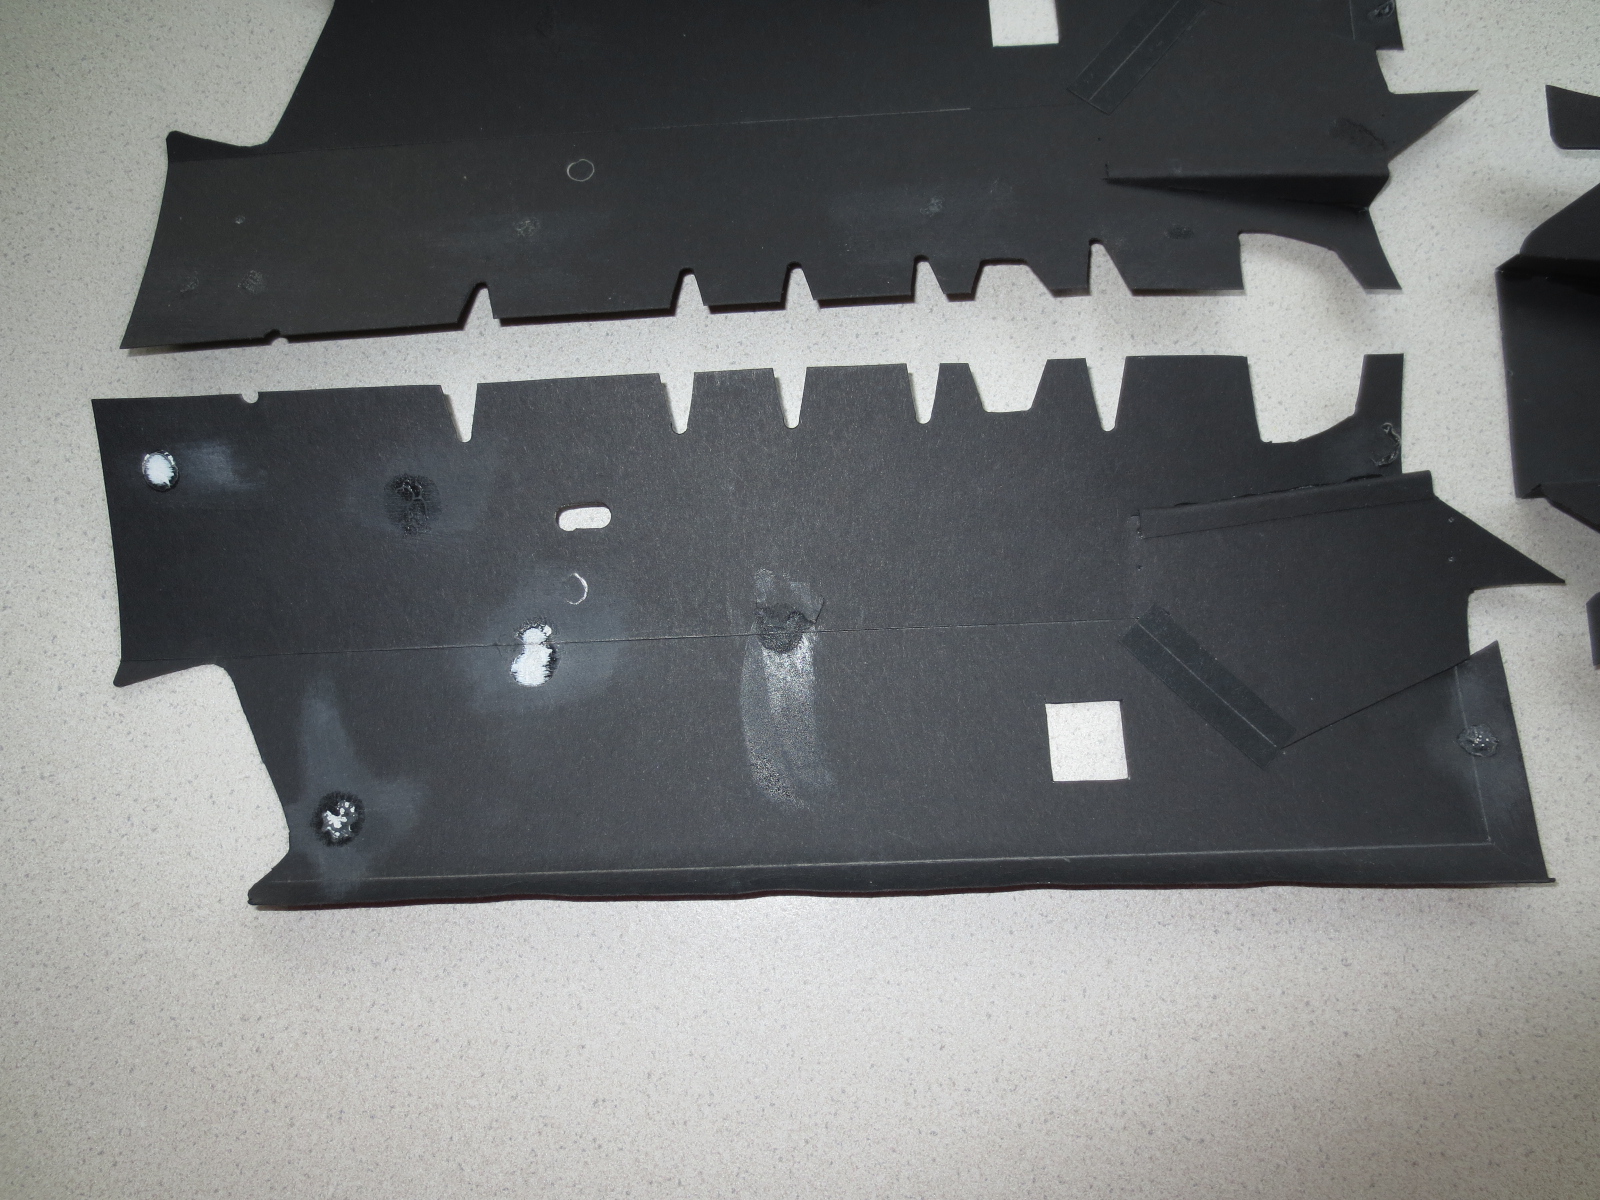
I don’t know yet exactly what for this rectangle cutout in front of the diffuser is. But few pics told me that, so I’ve to find out what function it has.

The underside of the underbody. The outer side panels of the diffuser are missing.
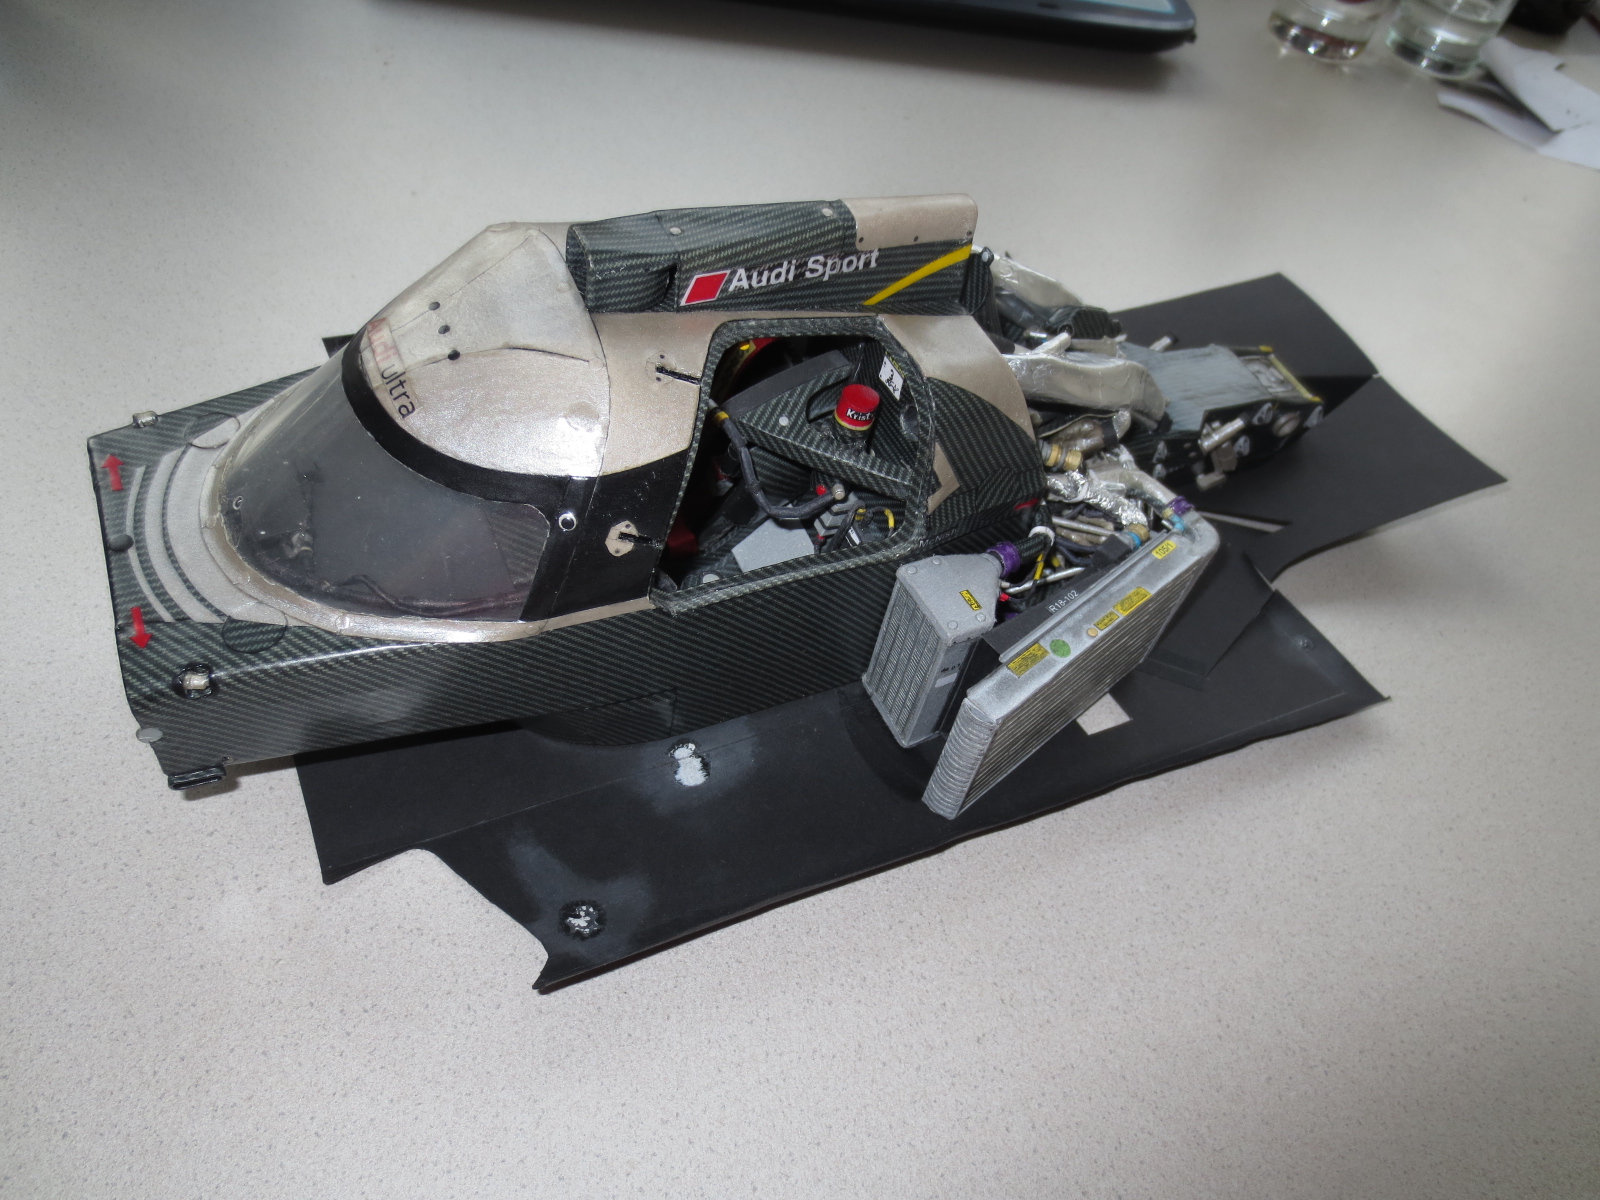
The current standing.
Progress on the cooling system of the Audi R18TDI
The first real time since September, I have a bit time to continue building on my Audi. It’s still an amazing car. I continued on the cooling system. More precisely on the water radiators. They are insanely big. Much bigger than the ones at the RB7. But considering the fact, that the Red Bull runs 1.5 hrs in Monza by 70% full throttle or two hrs in Spa Francorchamps by 65% full throttle and the Audi runs 24 hrs by 85% full throttle in Le Mans you shouldn’t wonder that the Audis radiators are much bigger than F1 radiators. At the current status, namely the fixed intercoolers and the finished water radiators, you can see the whole mass of the car. It’s insanely wide and voluminous. F1 car’s max. width is 1800mm and 1400mm chassis width. LMP’s are allowed to be 2000mm (tyres and chassis). Finally the engine is fitted to the monocoque. Before I did that, I had to do the holes at the front (for nose attachment) and rear (for engine fixing and engine cover attachment). That was a difficult work. Because of the strenght of my chassis, I had to use a needle, a nail and a hammer. Locating the point with the needle and then hammering in the nail into the chassis. It works extremely satisfactory.

Left hand side water radiator with it’s air guide. I’m not sure at the mo, what for the two ducts are. One of them I guess is for the Diesel cooling. For the second one I’ve no Idea (maybe also Diesel cooling…?).

The radiator itself got quite well. The line connections were a bit more complicated than the ones at the RB7, but I managed to do them very well.

The single left hand water radiator with it’s mounted air guide.

Another view of the left hand side water radiator.

The two water radiators. Only the left one had these two ducts. At least to follow my research.

Pics of this area of the car are quite rare. Even if there’s the cut-Audi around. But that’s an e-tron-quattro/ultra and not a TDI. There are quite big differences between the 2011 and the 2012 cars.

Here you can see the relatively small air intake for the big water radiators. But with that fat intercoolers beside the cockpit, there’s almost no alternative.

A view from top. Here you can see the whole witdh of the whole engine/cooling arrangement.

A view from the rear.

Another rear view.
